Vorgus's Drawabox Journey - Part 3

In this section we're actually getting to the box part of Drawabox. Exciting!

Lesson 1/6 - Perspective & Projection

  • 3D space consists of 3 dimensions, XYZ, and it is easily represented by a box.
  • 2D Terms: Shape, Line, Point; 3D Terms: Form, Edge, Vertex.
  • Perspective Projection is how we take 3D objects and capture them on the 2D page.

Lesson 1/7 - Vanishing Points

This was a big page - lots to learn here!

  • Foreshortening consists of visual cues that tell us how close or far away things are.
  • Visual cues include degree of shift in ellipses, object size, and distance between objects.
  • Parallel edges converge at a vanishing point.
  • Dramatic convergence describes edges that exist in "depth. with a close vanishing point.
  • Gradual convergence describes edges that are closer to their "actual" size with a far vanishing point.
  • The Horizon Line is the far end of the ground plane, and edges parallel to it will have their vanishing points on it.
  • Rotating boxes vanishing points move slowly towards the center, and faster away from the center the more parallel those edges become to the horizon line.

Lesson 1/8 - Rotation, Grids, & Infinity

This was pretty theoretical and hard to wrap my head around, but I'll try to sum it up.

  • The horizon line, in a diagram seen from above, is better represented as a circle around the viewer so that the distance from the viewer is equal all the way around.
  • As an object turns it's vanishing points travel around the circular horizon line at a constant rate, but once projected back onto a straight horizon line the vanishing points move at different rates.
  • A vanishing point at infinity is when an edges vanishing points is parallel to the horizon line.

Lesson 1/9 - Guidelines & 1/10 - Notes

 These are some general rules of thumb.

  • 1 Point Perspective - 2 axis of the box have vanishing points at infinity.
  • 2 Point Perspective - 1 axis of the box has vanishing points at infinity.
  • 3 Point Perspective - None of the vanishing points are at infinity.
  • If the far ends of a box are considerably smaller than the near ends that box has dramatic foreshortening. If the ends are similar than it shallow foreshortening.
  • Dramatic foreshortening is for very large objects or very close to your eye objects.
  • Shallow foreshortening is for human size objects, or very far objects.
  • Low horizon - you are low to the ground; High horizon - you are high up from the ground.
  • Eye line, horizon line, objects horizontal axis typically the same, but not necessarily.

This distortion stuff is kind of tricky, best to look at the diagrams on the Drawabox website.

  • Distortion occurs when a box falls outside of the space between it's 2 vanishing points.
  • Our picture plane should take up about 60% of our Field of View.

Finally, after all that reading, I got to the homework exercises. This time there are 4! Plotted perspectiverough perspectiverotated boxes, & organic perspective.


Some of these were a real doozy, but felt really good to complete. They made me really pay attention to how lines converge.

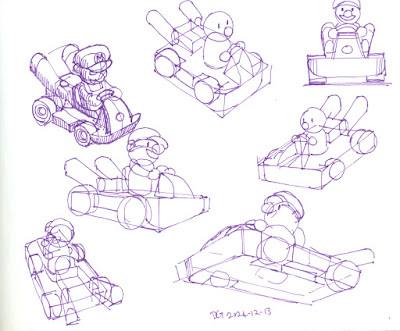
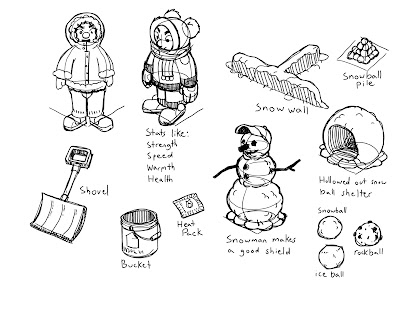
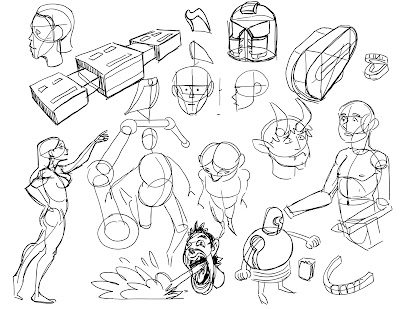
Again, here are the 50% drawings.


This was a big section and took me a long time to get through. I'm also realizing that all these exercises are supposed to become warmups for me to do anytime I sit down to draw... I'll have to start doing that because I haven't up until now. The next thing is the 250 box challenge!

Vorgus's Drawabox Journey - Part 2

Alright, we're keeping this going. Sometimes there's more time between homework exercises than I'd like, but what can I say, "life is busy." I say that all the time - on to the exercises!

Lesson 1/5 - Ellipses

  • The line that passes through the narrowest section of an ellipse is the "minor axis."
  • The "minor axis" is perpendicular the the ellipses surface, splits it equally in half, and extends to the vanishing point.
  • The more on edge we are seeing the ellipse the narrower it will be until it is only a line, and alternately, as we look directly at it its surface the closer and closer it will be to a circle.

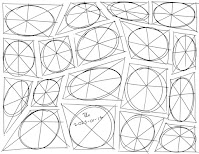
There were another three homework exercises for this section. Tables of ellipsesellipses in planes, & funnels.


My "50% rule" drawings.

Onwards we go!

Vorgus's Drawabox Journey - Part 1

Improvement is something that's always on my mind. Images and ideas are always popping into my head, but getting them onto a page takes a lot of skill, and time. It isn't always easy to do - sometimes is is seemingly impossible. Although time is often limited, what I can do with some of that time is hone my skills. That's where Drawabox comes in. I've had Drawabox on my list of things to try for a while now, and I'm finally getting to it.

I'm going to post about my journey through this free online course. I'll give my thoughts, takeaways, and post my work. I've already started making my way through the course, but I'll try to keep updating this blog as I go a long. The emphasis of the course is that you want to learn to draw in such a way that you are not wasting time or struggling with the "how" and focusing more on the "what" you want to draw. It really promotes getting an understanding of our subjects in a 3D space and being able to draw it on the 2D page.

The first thing I'll say is this program is not short. It is long and it is going to demand a lot of my time. I've clicked through many of the lessons just to get a glimpse of what's to come. It's big. Along with the reading, which is the shortest part, there are homework exercises. These exercises, which at first glance I've thought  "that shouldn't take too long," can actually take quite a bit longer - especially because I'm trying to do them to the best of my ability.  Along with the exercises is the 50% rule which basically says I should also be doing my own drawings of whatever I want about half of the time. This has been fun so far, but definitely increases the time demand.

Something I'm doing a little bit differently, and which the program recommends not doing is to do it digitally. However, I am. BUT! I am also doing it with pen and paper traditionally in the real world. Yes, this drastically increases the time demand, but I want to apply what I'm learning digitally as well. I'm not completely new to the digital world, so I think I will manage. If you're pretty new to this drawing thing, and digital drawing especially, than I totally agree with the program's recommendation to stick to the real world.

Lesson 0

I've gone through Lesson 0, but I won't talk too much about it here. It's about mindset, materials, and how to properly follow this course. Pick up some nice basic fine liners and printer paper!

Lesson 1/2Lesson 1/3, & Lesson 1/4

Here we go! These lessons focus on making those lines where we want them smoothly and consistently. My biggest takeaway is that the key is to use your whole arm! I've been doing this, sort of. I'm trying to be more conscious of this and make sure I'm using my whole arm all the time. This is also also where ghosting lines is introduced. Ghosting lines first is also important for building up muscle memory and dexterity. There were three homework exercises - superimposed linesghosted lines, & ghosted planes.


Here are the "50% rule" drawings I did of whatever!


Thanks for checking this out - I'll try to keep on top of this and keep going!